
The Complete Gazebo Installation Process: Step-by-Step Guide
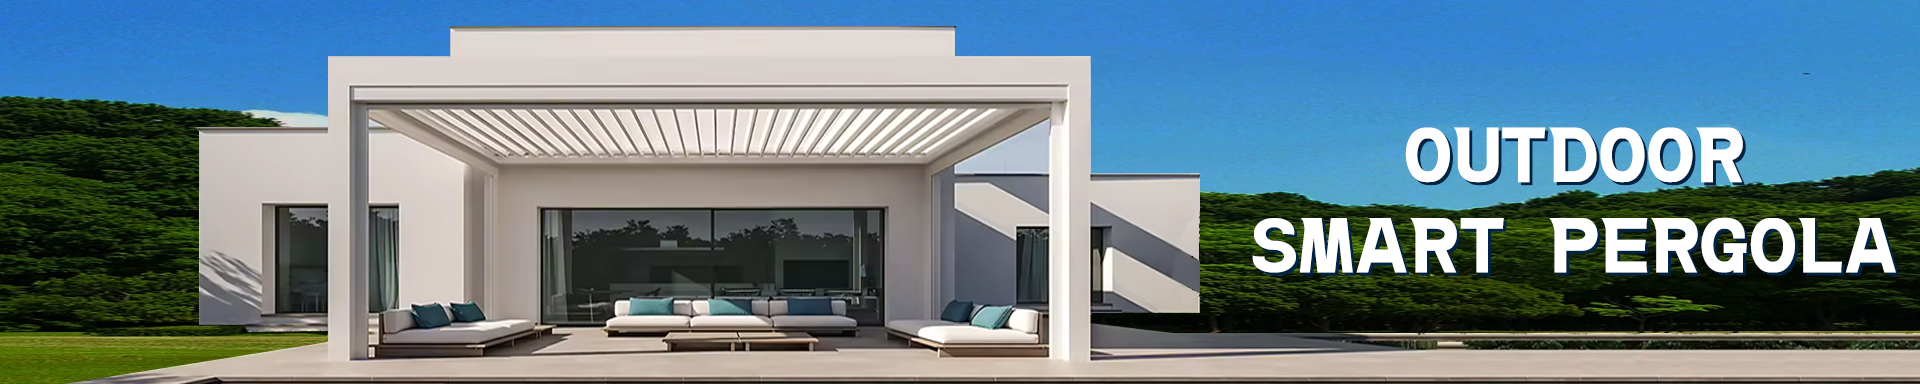
2025-02-26Why Choose an Aluminum Gazebo?
In recent years, outdoor living spaces have become much more than just patios or decks. Many homeowners are investing in high-quality, long-lasting structures like gazebos to enhance their outdoor experiences. An aluminum gazebo is a perfect blend of functionality and elegance, offering durability and low maintenance. Unlike wood, steel, or vinyl, aluminum gazebos stand the test of time, even in the harshest weather conditions.
The gazebo installation process is key to ensuring that your structure lasts for years. Whether you’re looking to create an outdoor retreat for relaxation or a space for entertaining, the installation process is critical to building a sturdy, beautiful gazebo.
In this detailed guide, we will walk you through each step of the gazebo installation process, providing helpful tips, tools, and recommendations along the way.
Preparing for Installation
Choosing the Right Location
The first step in any gazebo installation process is to select the ideal location. This will determine the comfort and aesthetic appeal of your outdoor space.
- Level Ground: Ensure that the ground is level to avoid uneven weight distribution that could cause structural instability. For most gazebos, a perfectly level surface is crucial, especially when working with materials like aluminum that require precise alignment.
- Sun and Shade: Think about how you’ll use your gazebo. If you want shade during hot summer days, place your gazebo where it will block the most sun. If you prefer warmth or more sunlight, consider positioning it in a sunnier spot.
- Accessibility: The location should be easily accessible from your home, ideally positioned for gatherings or to provide an uninterrupted view of your garden.
Gathering Necessary Tools and Materials
Before beginning installation, make sure you have all the necessary tools and materials on hand. Here’s a checklist for your gazebo installation process:
-
Tools Required:
- Electric drill or screwdriver
- Tape measure and level
- Hammer and rubber mallet
- Wrenches and socket set
- Ladder (for taller gazebos)
-
Materials:
- Aluminum frame sections (pre-cut and pre-drilled)
- Roof panels (often polycarbonate or aluminum)
- Screws, bolts, nuts, and anchors
- Sealants or silicone for water protection
Laying the Foundation
The foundation is a critical part of the gazebo installation process. A solid and stable base ensures your gazebo stands the test of time.
Concrete Foundation (Recommended for Stability)
- Preparation: Start by digging holes for your foundation piers or posts. The depth of each hole should be at least 12 inches deep for proper support.
- Pouring Concrete: If you’re installing on a concrete base, use a strong mix of concrete to pour in the holes. Allow the concrete to cure for at least 24-48 hours before proceeding with installation.
- Post Installation: Secure the posts into the foundation, ensuring they are perfectly vertical and aligned. Use a level to check that each post is straight.
Wood or Gravel Base (For Easier Installation)
- Wooden Decks: If you are installing on a wooden deck, simply secure the gazebo posts with heavy-duty bolts and screws into the deck’s foundation.
- Gravel Base: For a gravel base, make sure the ground is compacted, and lay down a weed barrier before placing the gravel. This ensures that weeds won’t grow through and disrupt the structure over time.
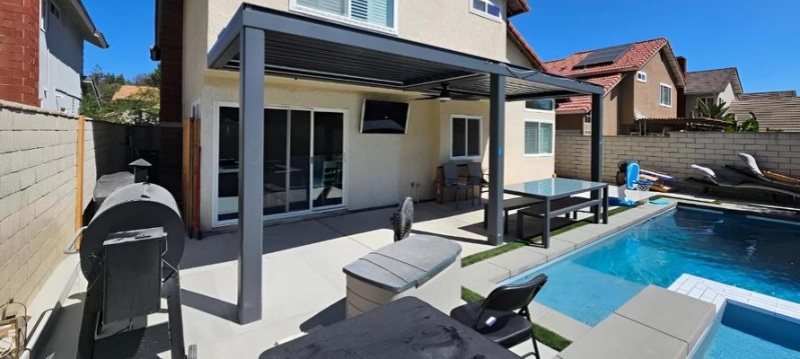
Assembling the Aluminum Frame
Once the foundation is in place, it’s time to assemble the frame. The aluminum gazebo frame is typically pre-fabricated, making the assembly process relatively straightforward.
Installing the Vertical Posts
- Align the Posts: Begin by aligning the vertical posts with the foundation. Make sure each post is plumb (perfectly vertical) using a spirit level. This is crucial for the stability of the structure.
- Secure the Posts: Attach each post to the concrete base using bolts or anchors. Tighten the bolts securely to prevent any wobbling.
Connecting the Horizontal Beams
- Frame Structure: After securing the posts, connect the horizontal beams that form the roof supports. These beams may be lightweight yet strong, which is a significant advantage of using aluminum.
- Fastening the Frame: Use screws or bolts provided in the kit to fasten the horizontal beams to the vertical posts. Ensure all connections are tight and secure to avoid any shifting or damage in the future.
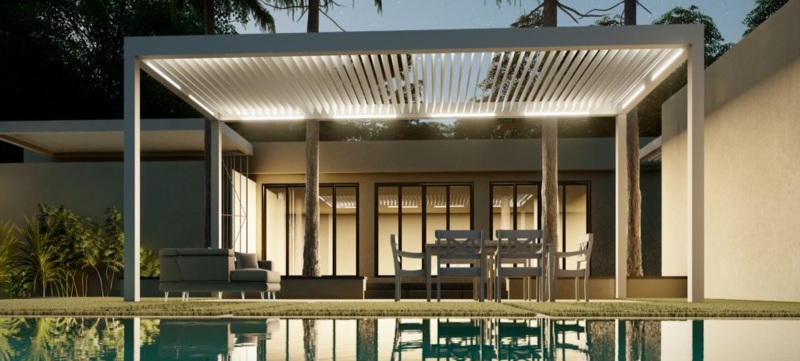
Installing the Roof Panels
Once the frame is securely in place, the next step in the gazebo installation process is to install the roof. Depending on the design of your aluminum gazebo, the roof could be made of polycarbonate, aluminum panels, or other materials.
Installing Aluminum Roof Panels
- Lay Panels on Roof Beams: Begin by laying the roof panels onto the horizontal beams. Ensure that the panels are positioned securely and that their edges are aligned with the edges of the frame.
- Securing the Panels: Use screws or bolts to secure the panels in place. Make sure each panel is firmly attached and that no gaps are left between them.
- Weatherproofing: Apply weatherproofing sealant along the edges of the roof panels. This step will help to prevent leaks and protect the gazebo from rain and snow.
Polycarbonate Roof Panels (Alternative Option)
If your gazebo uses polycarbonate panels, you’ll need to take extra care when installing. These panels are lightweight but prone to scratches, so handle them gently. Secure them into place using the same method as aluminum panels but be careful not to overtighten the screws, as polycarbonate is more flexible than metal.
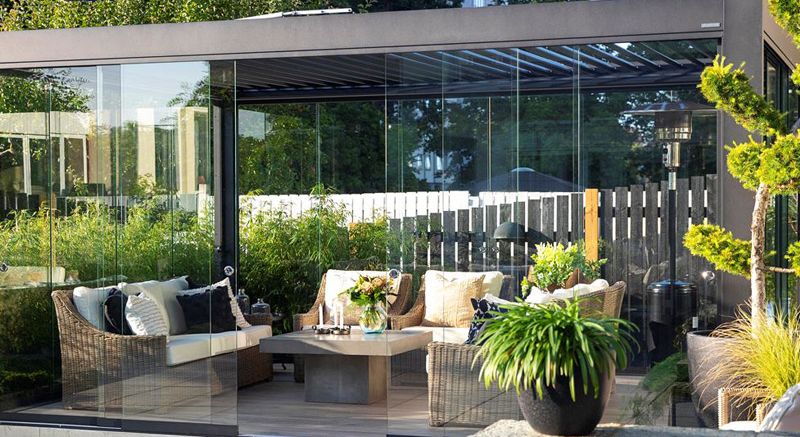
Installing Doors and Windows (If Applicable)
Some aluminum gazebos come with optional doors and windows, which can enhance both the functionality and appearance of your gazebo.
- Sliding Doors: If your gazebo design includes sliding doors, install the rails first, then slide the doors into position. Ensure that the doors glide smoothly along the tracks.
- Windows: Attach windows to the framework using brackets or screws. Make sure that each window is sealed properly to avoid drafts or water seepage.
- Seals and Weatherproofing: Apply silicone sealant around the edges of the doors and windows to keep them sealed and weatherproof.
Final Adjustments and Quality Check
Once the gazebo frame, roof, and optional features like doors and windows are installed, it’s important to perform a final inspection.
- Structural Integrity: Double-check all bolts, screws, and connections to ensure that everything is tight and secure. The frame should be rigid, and there should be no wobbling.
- Aesthetic Finishing: Inspect the gazebo for any minor aesthetic issues, such as gaps between panels or visible screws. Consider adding decorative touches, such as curtains, lights, or plants, to enhance the overall look.
- Clean the Surface: Use a soft cloth and mild soap to clean the aluminum surfaces. This will help maintain its appearance and durability.
Conclusion
The gazebo installation process may seem like a daunting task at first, but with the right tools, preparation, and careful attention to detail, you can create a stunning aluminum gazebo that will last for years. The benefits of choosing aluminum are undeniable – it’s lightweight, durable, and requires minimal maintenance, making it an excellent choice for any outdoor space.
By following this step-by-step guide, you can ensure that your gazebo is installed correctly, and you’ll be able to enjoy your new outdoor space with confidence. Whether you’re relaxing alone or hosting a gathering, your aluminum gazebo will provide a lasting retreat for years to come.